
Are you tired of your kitchen feeling dirty and disorganized? It’s time to roll up your sleeves and give it a deep clean!
In this article, we’ll show you step-by-step how to tackle every nook and cranny, leaving your kitchen sparkling and fresh.
From assessing the cleaning needs to gathering the necessary supplies, decluttering and organizing, and finally, sanitizing countertops and appliances, we’ve got you covered.
So put on your cleaning gloves and let’s get started!
 Before you start deep cleaning, it’s important to assess the kitchen’s cleaning needs.
Begin by surveying the entire kitchen area, taking note of any visible dirt, grime, or clutter. Check the countertops, cabinets, appliances, and floors for any spills, stains, or accumulated dust. Pay close attention to high-traffic areas like the stove, sink, and refrigerator.
Evaluate the condition of your kitchen tools and equipment, such as cutting boards, utensils, and small appliances, ensuring they are clean and in good working order. Take inventory of your cleaning supplies, making sure you have the necessary products for each task.
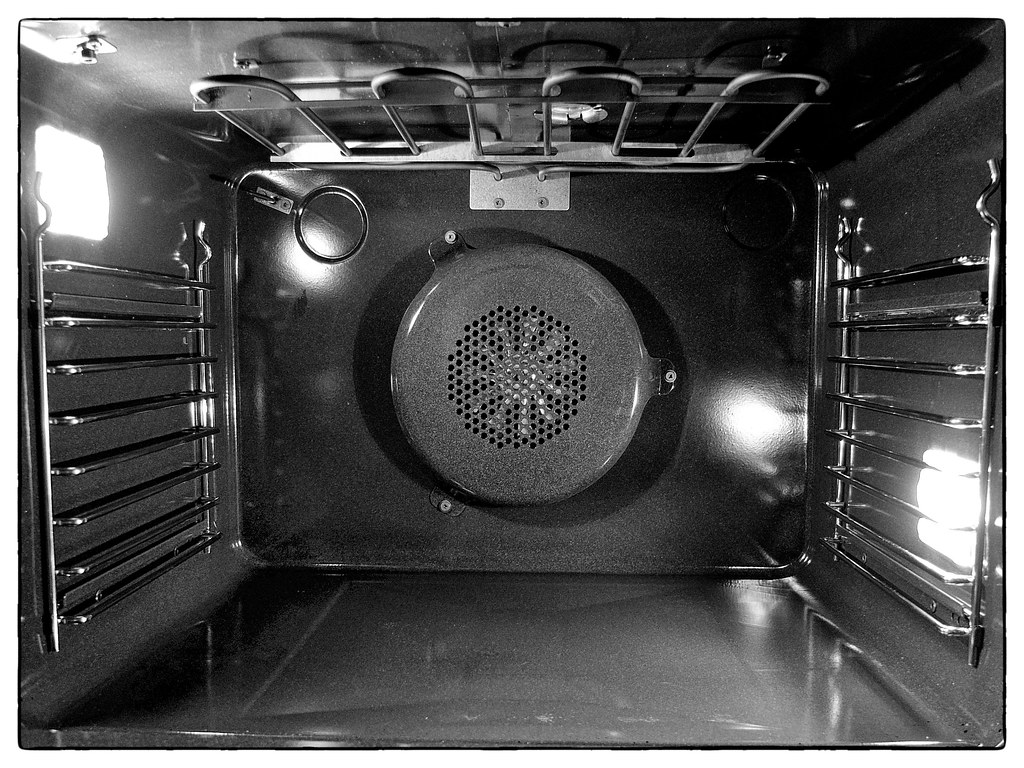
Consider any specific areas or items that require extra attention, such as the oven or microwave. By thoroughly assessing your kitchen’s cleaning needs, you can create a detailed plan of action for an efficient and thorough deep cleaning session.
Make sure you’ve got all the necessary cleaning supplies for the job.
To deep clean your kitchen effectively, you’ll need a few essential items. Start with a good all-purpose cleaner that can tackle grease and grime on various surfaces. Additionally, have some specialized cleaners on hand for specific areas, such as stainless steel or glass cooktops.
Don’t forget about disinfecting wipes or sprays to kill germs on countertops and handles. A microfiber cloth or sponge will come in handy for scrubbing and wiping surfaces. For hard-to-reach places, grab a long-handled brush or toothbrush.
Don’t overlook the importance of gloves to protect your hands from chemicals. Lastly, stock up on trash bags and empty spray bottles for diluting cleaners. Having all these supplies ready will ensure a thorough and efficient cleaning experience.
Start by decluttering and organizing your kitchen space to create a more streamlined and efficient area. A clean and organized kitchen not only looks better, but it also makes cooking and meal prep easier and more enjoyable. To help you get started, here’s a simple table to guide you through the decluttering process:
| Column 1 | Column 2 | Column 3 | Column 4 |
|---|---|---|---|
| Step 1: | Remove all items from countertops and surfaces. | Step 2: | Sort through items and separate into categories (e.g., utensils, cookware, pantry items). |
| Step 3: | Get rid of any items that are broken, expired, or no longer needed. | Step 4: | Clean and wipe down countertops, cabinets, and drawers. |
| Step 5: | Assign a designated spot for each item and group similar items together. | Step 6: | Use storage solutions like drawer dividers and shelf organizers to maximize space. |
| Step 7: | Regularly declutter and reorganize to maintain a tidy kitchen. | Step 8: | Enjoy your clean and organized kitchen space! |
After you’ve finished decluttering and organizing, it’s important to regularly clean and sanitize your countertops and appliances to maintain a hygienic kitchen environment.
Start by wiping down your countertops with a solution of warm water and dish soap. Use a clean cloth or sponge to remove any spills or stains. For tougher stains or grease buildup, mix equal parts vinegar and water and spray it onto the affected areas. Let it sit for a few minutes before wiping clean.
Don’t forget to clean your appliances as well. Use a mixture of warm water and dish soap to wipe down the exterior surfaces. For the inside of your appliances, such as the microwave or oven, follow the manufacturer’s instructions for proper cleaning.
Regularly cleaning and sanitizing your countertops and appliances will help prevent the spread of germs and keep your kitchen clean and safe for everyone to enjoy.
Don’t forget to regularly clean and sanitize the sink and other areas prone to grease buildup to maintain a hygienic environment. Here are three important steps to deep clean your sink and keep it looking spotless:
Now that you’ve tackled deep cleaning the sink and grease-prone areas, it’s time to move on to the floors and finishing touches.
Start by sweeping or vacuuming the floor to remove any loose dirt and debris. Pay special attention to the corners and edges where dirt tends to accumulate.
Next, mop the floor using a suitable cleaner and warm water. Make sure to follow the manufacturer’s instructions for the cleaner and use a mop or microfiber cloth to scrub away any stubborn stains or spills.
Once the floor is clean and dry, it’s time for the finishing touches. Wipe down any remaining surfaces, such as countertops, appliances, and cabinet doors, with a damp cloth and a gentle cleaning solution.
You should deep clean your kitchen at least once every three months. Deep cleaning involves scrubbing all surfaces, cleaning appliances inside and out, and organizing cabinets. It helps maintain a hygienic and inviting kitchen space.
Yes, you can use regular household cleaners for deep cleaning. They are effective in removing dirt, grime, and grease. However, make sure to read the labels and follow the instructions for the best results.
To deep clean your kitchen, gather essential tools like a scrub brush, microfiber cloths, and a vacuum cleaner. These will help you tackle stubborn stains, wipe down surfaces, and reach into tight corners.
It usually takes a few hours to deep clean a kitchen. Start by decluttering and organizing, then tackle one area at a time. Don’t forget to scrub those hard-to-reach corners and sanitize surfaces.
When deep cleaning your kitchen, pay special attention to areas like the oven, refrigerator, and sink. These spots can accumulate grime and bacteria. By giving them extra care, you’ll ensure a clean and healthy kitchen environment.
Congratulations on successfully deep-cleaning your kitchen! By following the steps outlined in this article, you’ve transformed your kitchen into a sparkling oasis of cleanliness.
Remember, a clean kitchen not only ensures a healthier environment but also symbolizes a fresh start and a renewed sense of purpose.
Just like how a clean kitchen is the heart of a home, a clean mind is the heart of a happy life.
So keep cleaning, keep shining, and let the positive energy flow through every inch of your newly refreshed kitchen.

