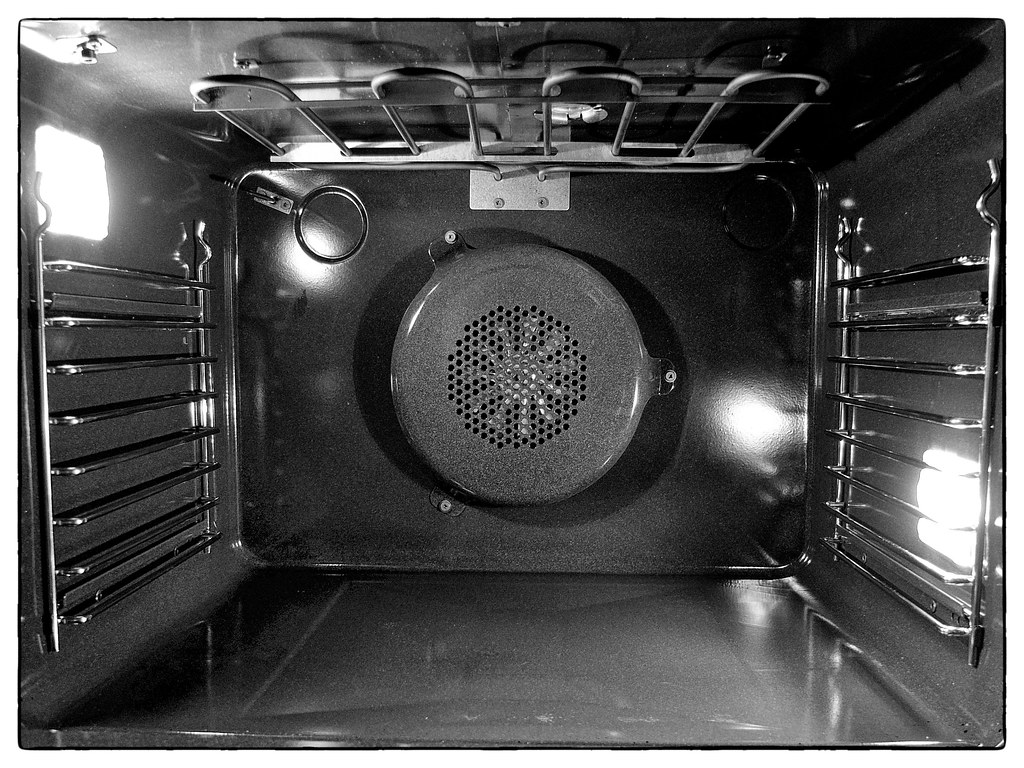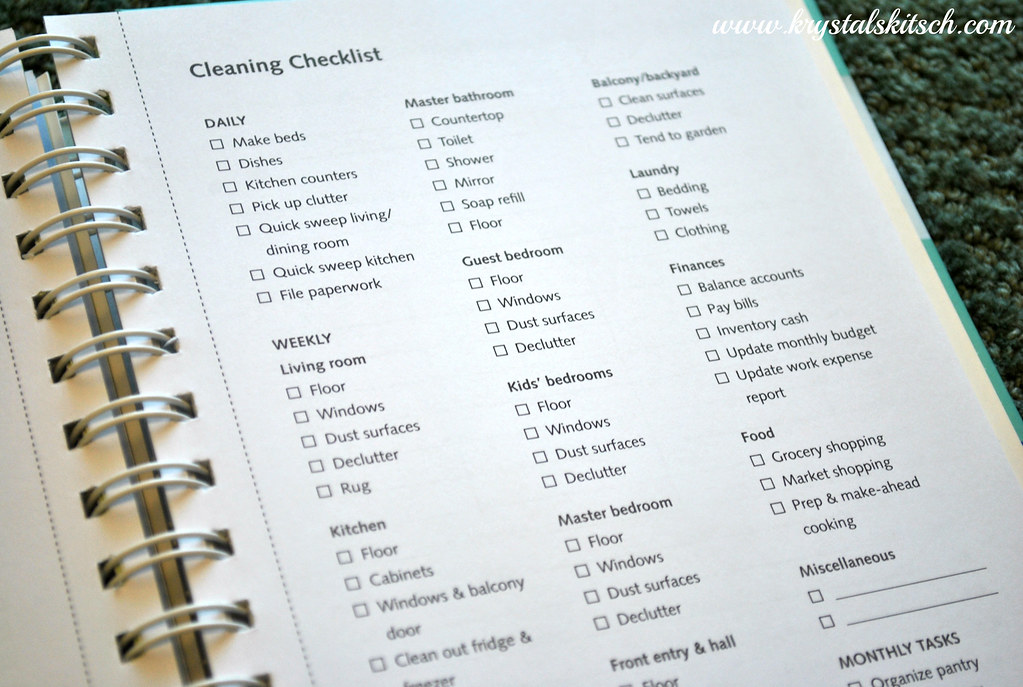

Do you ever wonder how often you should clean your oven? Well, lucky for you, we have all the answers you need.
Cleaning your oven regularly is essential to maintain its efficiency and prevent any unpleasant odours. In this article, we will guide you through the optimal cleaning frequency, factors affecting your cleaning schedule, signs that indicate your oven needs cleaning, as well as basic and deep cleaning techniques.
By the end, you’ll be equipped with all the knowledge to keep your oven sparkling clean!
You should clean your oven at least once every three months for optimal results. Regular cleaning not only helps maintain the appearance of your oven but also ensures its efficient performance and longevity.
Over time, grease, food spills, and grime can accumulate inside the oven, affecting its heating capabilities and even causing unpleasant odours. By cleaning your oven every three months, you can prevent the buildup of grease and food debris, allowing for better heat distribution and reducing the risk of smoke or fire hazards.
Additionally, regular cleaning helps remove any lingering food smells, making your kitchen a more pleasant environment for cooking and entertaining.
Considering factors such as usage, cooking habits, and spills, it’s important to determine how frequently to maintain your oven’s cleanliness.
The frequency of oven cleaning depends on how often you use your oven and the type of food you cook. If you use your oven frequently and cook foods that produce a lot of grease or spills, it is recommended to clean it every 3-6 months.
However, if you only use your oven occasionally or mainly for baking, you can clean it every 6-12 months.
It’s also important to clean any spills or food debris immediately to prevent them from building up and becoming harder to remove later.
Regular cleaning not only ensures proper hygiene but also helps maintain your oven’s performance and extend its lifespan.
If your oven emits a strong burning smell or produces smoke when in use, it’s likely a sign that it needs cleaning. A dirty oven can accumulate food debris, grease, and spills over time, leading to unpleasant odours and smoke during cooking. Not only does this affect the taste and quality of your food, but it can also be a potential fire hazard.
Regular cleaning is essential to maintain the efficiency and safety of your oven. The frequency of cleaning depends on your usage and cooking habits. For moderate use, it is recommended to clean your oven every three to six months. However, if you frequently cook greasy or heavily soiled dishes, it is advisable to clean it more often.
To effectively clean your oven, start by removing the oven racks and soaking them in warm soapy water. This will help to loosen any built-up grease and grime. While the racks are soaking, you can tackle the inside of the oven. Mix a paste of baking soda and water and spread it generously on the interior walls of the oven, avoiding the heating elements. Let it sit for at least 30 minutes to allow the baking soda to work its magic. Then, using a damp cloth or sponge, scrub the paste away, wiping down the walls and bottom of the oven. For stubborn stains, you can use a non-abrasive scrub brush. Once you have finished cleaning the interior, rinse the oven racks and dry them thoroughly before placing them back in the oven.
| Cleaning Supplies | Steps | Tips | Safety Precautions |
|---|---|---|---|
| Baking soda | Remove oven racks | Use a non-abrasive | Turn off the oven and |
| Warm soapy water | Soak oven racks | scrub brush for | unplug it before |
| Cloth or sponge | Mix baking soda paste | stubborn stains | cleaning |
| Non-abrasive scrub brush | Spread paste on walls | Rinse and dry racks |
One way to effectively deep clean your oven is by using a mixture of vinegar and water. This simple and affordable solution can help remove built-up grease, grime, and odours from your oven’s interior.
To begin, remove the oven racks and any loose debris. Next, create a mixture of equal parts vinegar and water in a spray bottle. Spray the solution generously onto the interior surfaces of the oven, focusing especially on areas with stubborn stains.
Let the mixture sit for about 15 minutes to allow it to penetrate and break down the grime. Then, using a damp cloth or sponge, scrub the surfaces thoroughly. Rinse the cloth or sponge frequently to prevent spreading the dirt around.
When cleaning oven racks and trays, make sure to remove any loose debris before applying a cleaning solution. This will ensure a thorough and effective cleaning process. Here are some helpful tips to assist you in cleaning your oven racks and trays:
Following these steps will help to ensure that your oven racks and trays are clean and ready for your next cooking adventure.
Happy cleaning!
Using natural and DIY cleaning solutions is a great way to effectively clean your oven racks and trays without harsh chemicals. Not only are these solutions safe for you and the environment, but they can also be just as effective in removing grease, grime, and baked-on food. Here are some simple and effective natural cleaning solutions you can make at home:
| Solution | Ingredients |
|---|---|
| Vinegar and Baking Soda | 1 cup vinegar, 1/2 cup baking soda |
| Lemon and Salt | 1 lemon, 2 tablespoons salt |
| Hydrogen Peroxide and Baking Soda | 1/2 cup hydrogen peroxide, 1/2 cup baking soda |
To clean your oven racks and trays using these solutions, simply follow these steps:
Using these natural and DIY cleaning solutions will not only leave your oven racks and trays sparkling clean, but also keep your home chemical-free and safe for your family.
For a truly deep clean, consider hiring a professional oven cleaning service. These experts have the knowledge and tools to thoroughly clean your oven, leaving it looking and smelling fresh.
Here are five reasons why hiring a professional oven cleaning service is worth it:
Regular maintenance is key to keeping your oven clean and in good working condition. By following a few simple tips, you can ensure that your oven remains in top shape and provides you with delicious meals for years to come.
First, make it a habit to wipe down the oven’s interior after each use. This will prevent any food spills or grease from building up and becoming difficult to remove.
Additionally, regularly check and clean the oven’s door gasket to ensure a tight seal and prevent heat loss. Don’t forget to clean the oven racks and burner grates regularly as well, either by hand or using the self-cleaning function if available.
Lastly, it is important to schedule a deep cleaning at least once a year to remove any stubborn stains or residue. By following these maintenance tips, you can keep your oven spotless and efficient, allowing you to serve others with confidence.
Regular household cleaners are generally safe to use on your oven, but it’s important to check the manufacturer’s instructions first. Some ovens may require specific cleaners to avoid damaging the surface.
If you notice a burning smell coming from your oven, turn it off immediately and let it cool down. Check for any spills or food debris that may be causing the smell. Clean your oven regularly to prevent future issues.
It is generally safe to use the self-cleaning mode on your oven. However, it is important to follow the manufacturer’s instructions and take proper safety precautions. Make sure to remove any food debris before starting the self-cleaning process.
To clean the glass door of your oven, start by mixing equal parts vinegar and water in a spray bottle. Spray the solution on the glass and let it sit for a few minutes. Then, wipe it clean with a microfiber cloth or sponge.
Yes, you can use aluminium foil to line the bottom of your oven for easier cleaning. It helps catch drips and spills, but make sure it doesn’t cover heating elements or block airflow.
So, there you have it! Now you know how often you should clean your oven and how to do it effectively.
By following the guidelines and techniques outlined in this article, you can ensure your oven remains clean and in top-notch condition.
Remember, regular cleaning is key to maintaining a functional and efficient oven. Don’t wait for the signs of dirt and grime to become overwhelming; take action now and give your oven the TLC it deserves.
Your future cooking adventures will thank you!

